How To Put On a Bra. The RIGHT Way in 2023.
It’s likely that you’ve been putting on your bra the wrong way your entire bra-wearing life!
There is one thing most bra experts agree on: You should NOT be doing that swivel move. In other words, you shouldn’t put your bra on with the clasp in front of you and then pull it around. If you read the commentary on-line, it turns out that women have been putting on their bra incorrectly for years. When you clasp your bra at the front and then swivel it around on your body, this stretches the elastic and pulls at the underwire, both which decrease the lifespan of your bras and cause great discomfort in the meantime while you're wearing it.
Bra specialists all agree that when putting on a traditional bra (you know, those old school ones that clasp at the back!) it’s best if you put your arms through the shoulder straps and then pull your back bands around at the back to clasp your bra together at the back. This involves a bit of practice, a bit of dexterity and maybe a bit of magic. It's really hard. Not to mention, that when making adjustments to the back clasps you’ll need to really feel your way over the clasp to determine which loops to attach.

This is one significant reason why The Bra Lab’s side clasps are in fact, EASIER to put on.
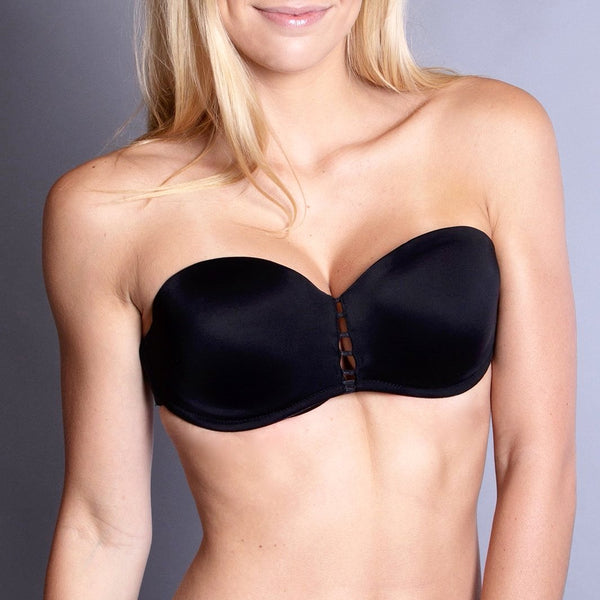
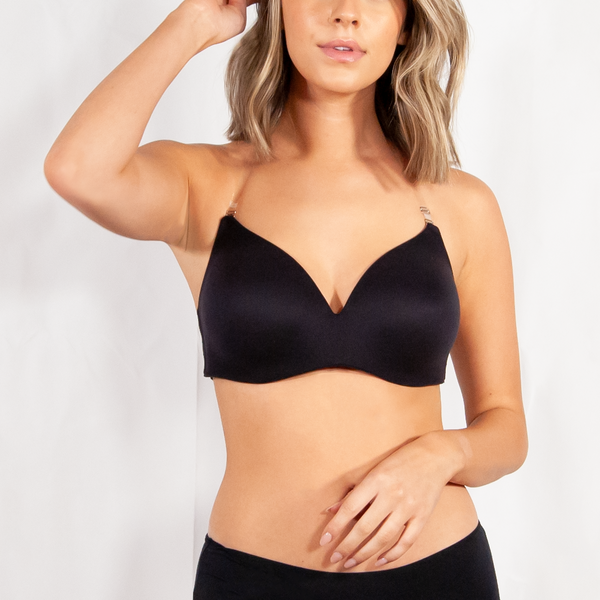
Front closure bras were originally designed to mitigate this problem. They are particularly well liked by older ladies who may have lost the dexterity to put on a regular bra and clasp it at the back. However, there are so many downsides to a front closure bra. The big issue with having a front clasp is that it is not adjustable - so your bra won’t last very long with some natural stretching and there is no option to loosen or tighten the bra band throughout the month. Many women experience mild weight fluctuations and hormone-related breast size fluctuations throughout the month and being able to adjust a bra clasp can mean the difference between a bra that fits and one that is uncomfortable.
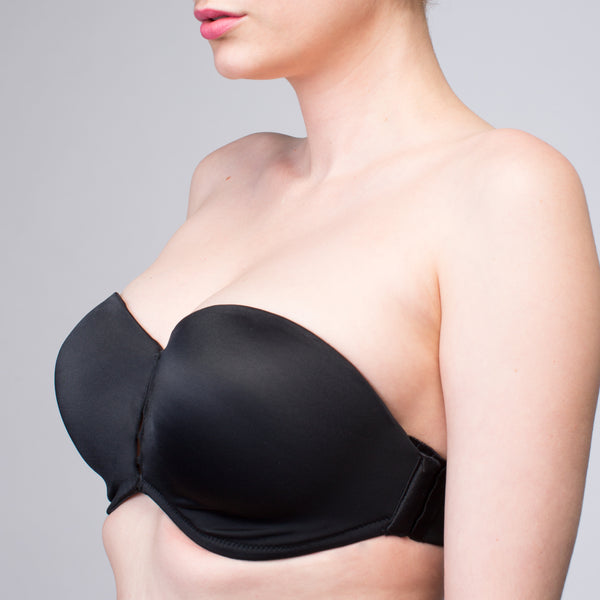
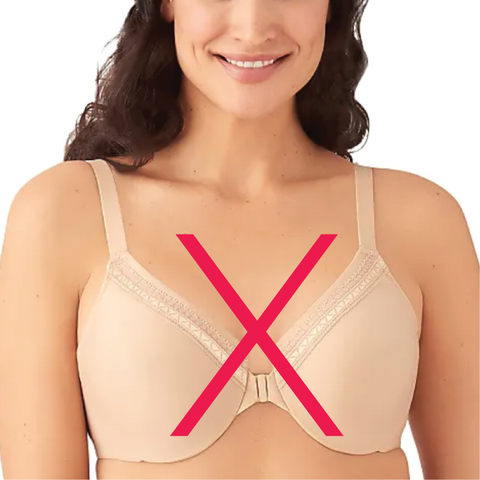
Front closure bras usually don’t separate the breasts well which can cause a squished cleavage or chafing between the breasts. Front closure bras can be made with underwire or without underwire. If you’re determined to go down this path and buy a front closure bra, we really do not recommend the underwire versions. There is just no flexibility in getting this bra adjusted to your exact size, which is important to do with underwire, so that wire sits comfortably underneath your breasts.
A Better Solution - The Bra Side Clasp
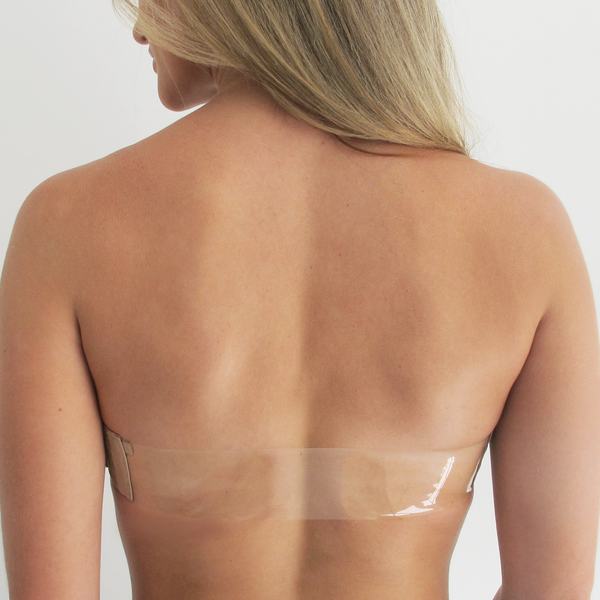
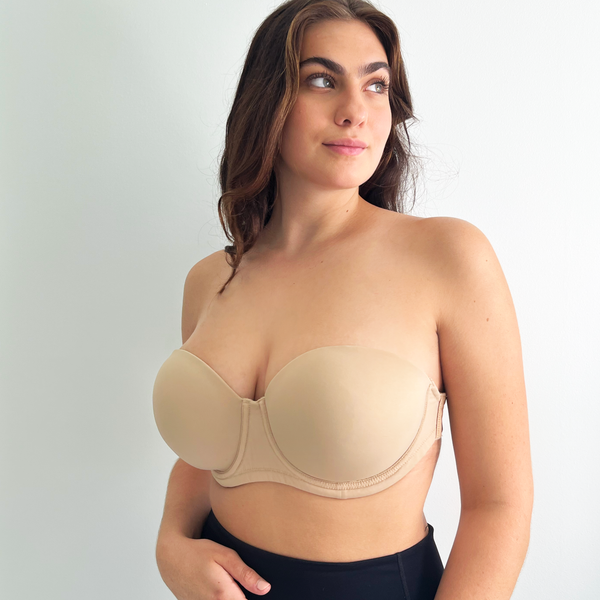
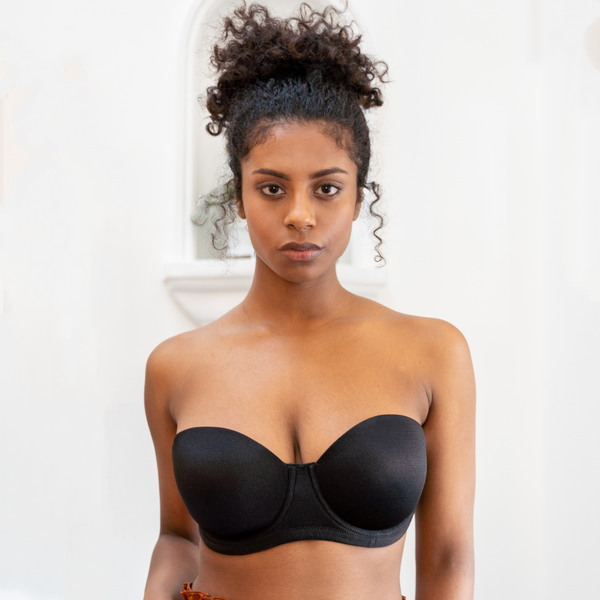
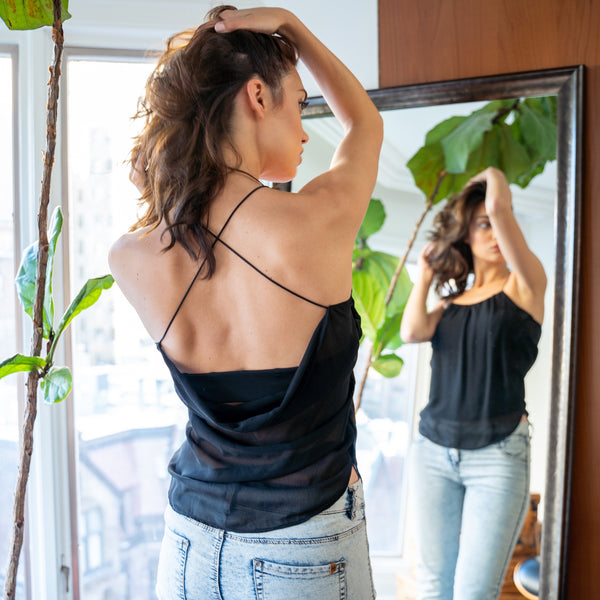
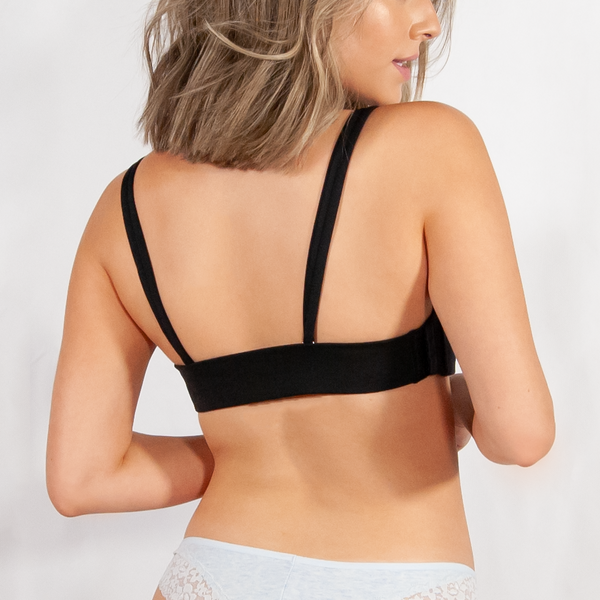
The Bra Lab’s side clasping design allows you to conveniently clasp on one side, which should be do-able for most people. Although there are two side clasps, you can put the first one together when it’s off your body and simply bring it together at the other side. It’s the side clasps that give you optimum adjustment possibilities and a custom fit. When wearing our bras as a strapless, it also provides added support and means your bra won’t ride up or slip down.
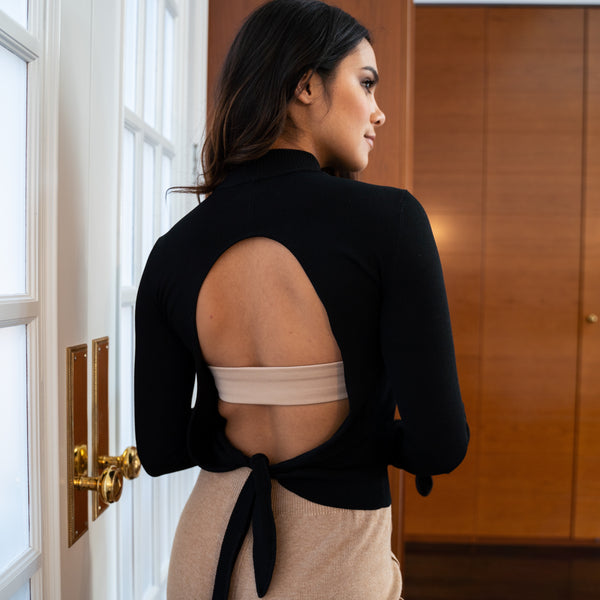
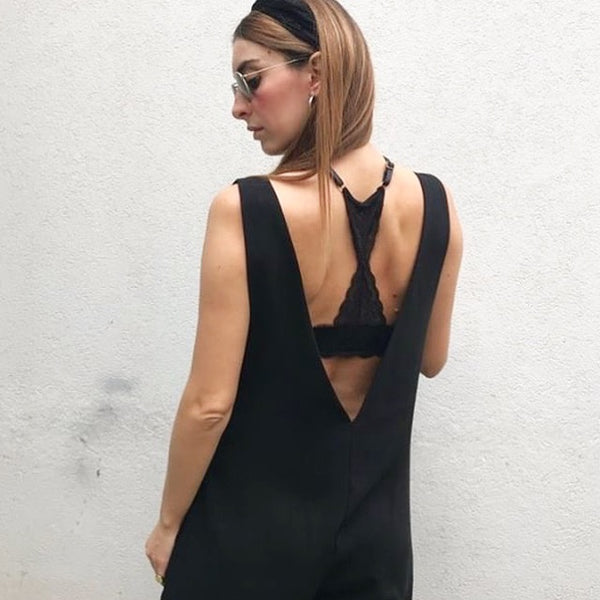
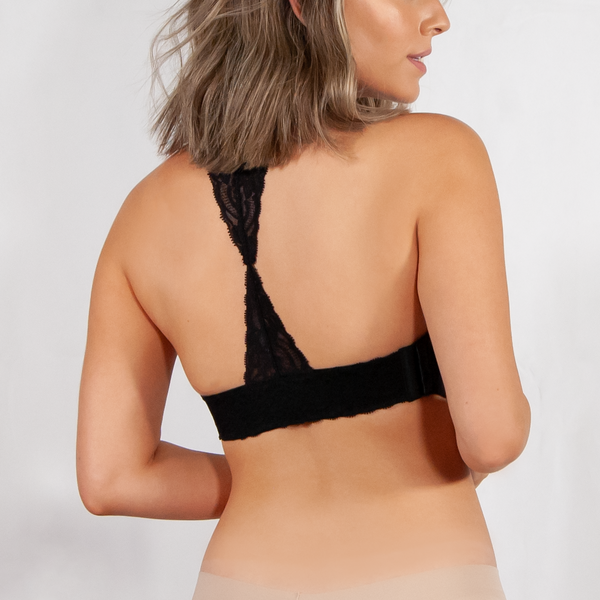
And an added bonus of the side clasp is the seamless interchangeable back back bands that can work with tricky outfits.
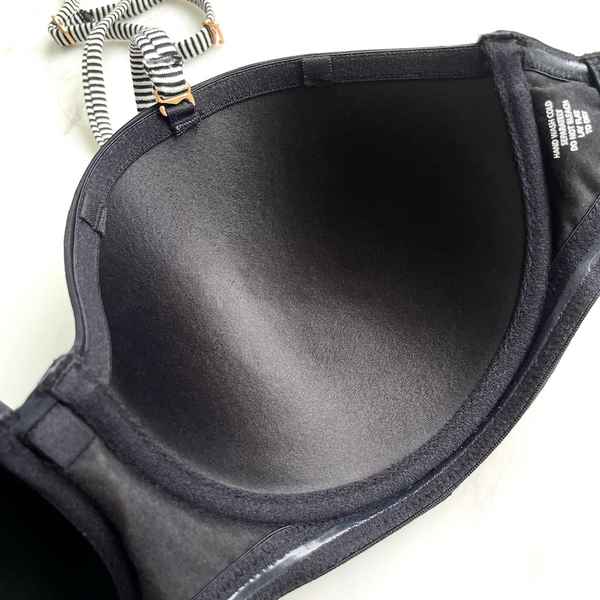
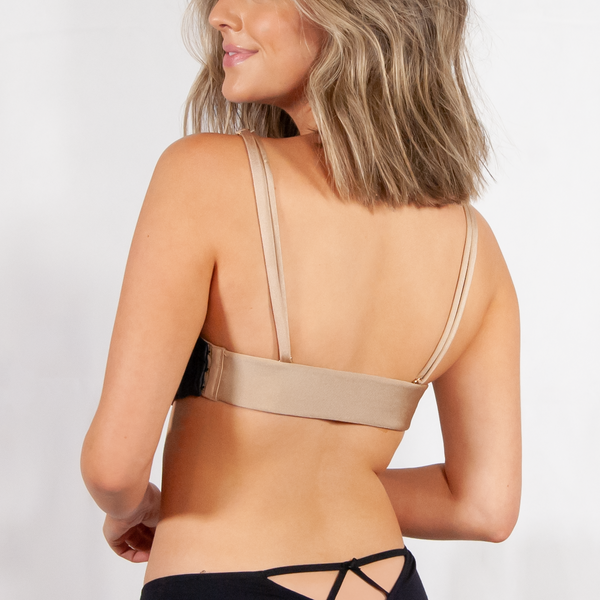
Many people are afraid of the side clasp. Will it come apart? Will it be uncomfortable? Our clasps don't come apart. With 3 vertical hooks on a 2 inch clasp, it's near impossible. As for comfort, if you have the correct size, the side clasp won't rub under your arm pits as it won't move around. The clasp is designed to be comfortable against the skin. It also softens after washing.

How to put on a traditional bra:
- Put your arms through the shoulder straps with the inside of the cups facing you. If it’s a strapless bra, hold the cups against your chest.
- Pull the two back bands around the back on each side with each hand.
- Clasp your bra together by feeling where the loops are. This part is tricky and takes practice (and potentially a mirror!).
- Bend forward to help move your breasts into the cups
- Use your hands to fill your bra cups with your breast tissue
- Ensure the underwire is sitting flat underneath your breasts. If you feel any poking this could mean your band is too tight and needs to be adjusted to a looser setting. It could also mean that your underwire is bent out of shape. This often happens if you wash bras in a regular washing machine instead of hand washing. It also means it’s time for a new bra!
How to put on a Bra Lab bra
Considering the gymnastics workout required above to put on a traditional bra the proper way, Bra Lab bras should be a breeze to put on in comparison.
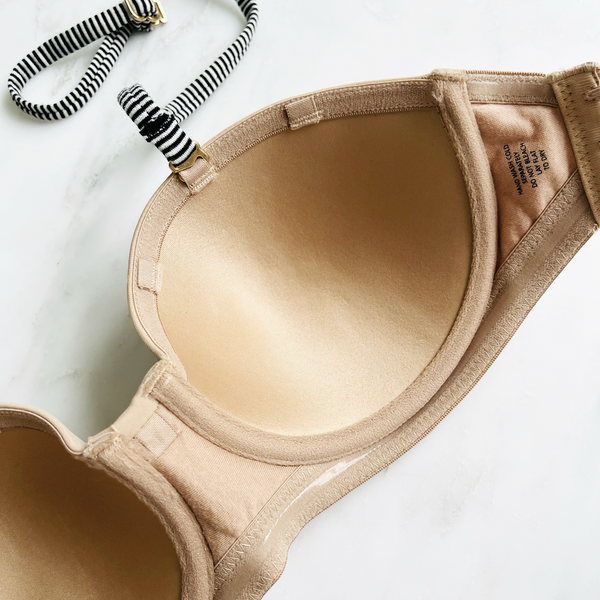
- Choose which back band you will wear with your Bra Lab cups.
- Select your shoulder straps and connect these to your back band. Keep them long and loose so they are easy to attach. You can then adjust them on your body. Skip this step if you are going strapless.
- Connect your bra lab cups to one side of your selected back band.
- With one hand on the cups and the other at the end of the back band, wrap the cups around your body so that they are close to cupping your breasts.
- Connect your bra cups and back band on the side at the side clasp.
- Adjust either setting of either side clasp if needed and make sure the flaps are sitting flat against your skin.
- Bend forward to help move your breasts into the cups.
- Use your hands to fill your bra cups with your breast tissue.
- If using shoulder straps, swing the shoulder straps to the front and attach to the loops on your cups.
Have you been putting on traditional bras incorrectly? Or do you do it the correct way, and with a lot of coordination? We’d love to hear from you.
We’d also love to know what you find easy and what you find difficult with putting on a Bra Lab bra. Most customers tell us it takes some getting used to but eventually they master it.
Let us know what you think. Leave a comment below or email us at shop@thebralab.com